Tips and Tricks: How to Get a Free Domain for 1 Year (100% Working)
Warm greetings to all domain hunters! If you’re looking to start a blog but don’t have the budget for a premium domain yet, this guide is for you. I’ll share a trick to get a free domain for your website.
Available Free Domains:
- .tk
- .ml
- .ga
- .cf
- .gq
These domains are incredibly useful for blogs or websites, especially if you’re planning to apply for Google AdSense. Sites with custom domains (even free ones) generally have a higher chance of being accepted compared to those still using default subdomains (like .blogspot.com). This is a great opportunity to get a professional-looking URL at no cost.
I have personally used this method for my own blogs:
http://www.kumpulan-tugas.gahttp://www.kuasai-teknologi.tk
How to Register a Free Domain
1. Check Availability
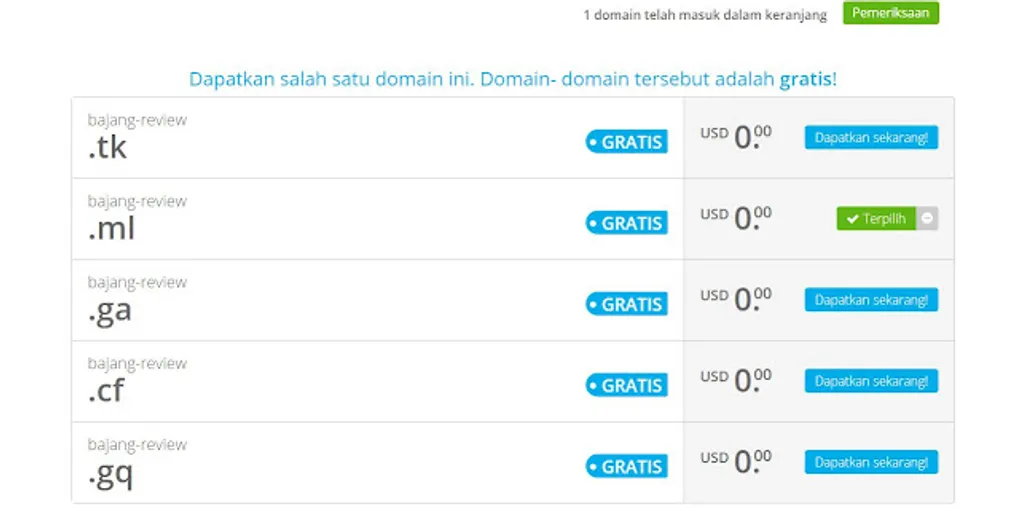
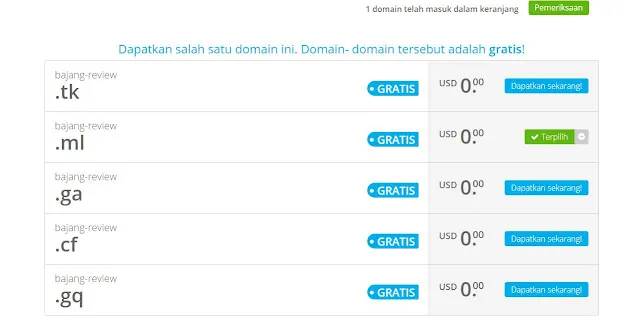
Visit Freenom.com. On the homepage, you’ll see a domain search box. Enter the name you want for your website and click Check Availability.
 |
|---|
| Checking domain availability on Freenom |
In the example above, I used the name bajang-review. Choose one of the available free domains and click Checkout.
2. Set the Period
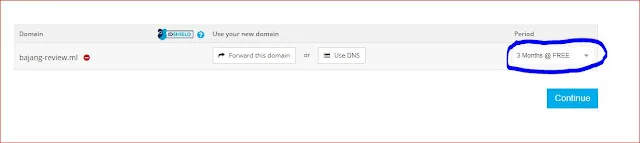
You will be directed to your shopping cart. Here, you can choose the duration for which you want the domain to be active. You can select up to 12 Months @ Free.
 |
|---|
| Selecting the 12-month free period |
After choosing your duration, click Continue.
3. Verify Your Email
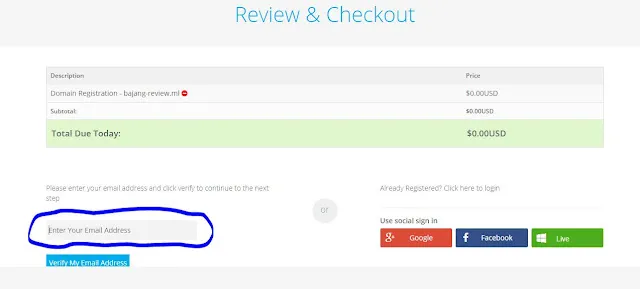
On the next page, enter your email address to confirm your registration. Click Verify My Email Address.
 |
|---|
| Entering email for verification |
Check your inbox and click the verification link sent by Freenom. You’ll then be asked to fill out a short registration form. Make sure to remember the password you create!
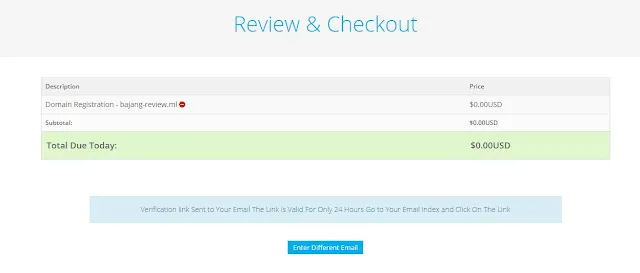 |
|---|
| Completing the checkout process |
Managing Your Domain
Once you’ve registered, you can manage your domain settings.
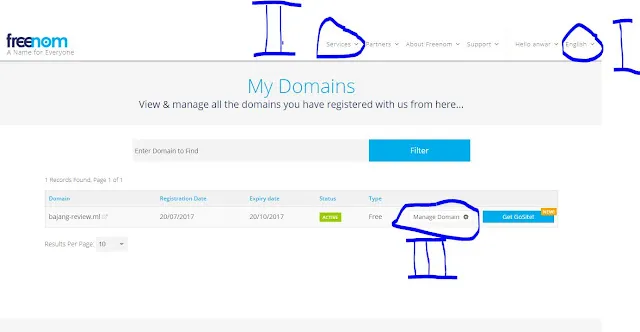 |
|---|
- Services > My Domains: Shows a list of your registered domains.
- Manage Domain: Click this to configure your name servers or DNS records.
Configuring DNS for Blogger
Click on Manage Freenom DNS.
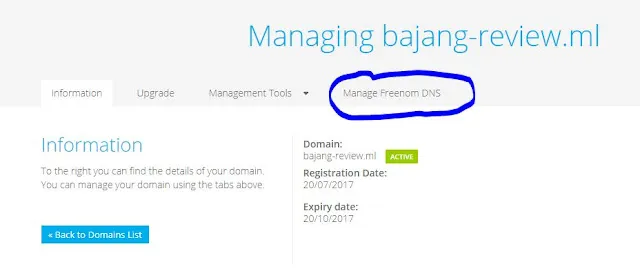 |
|---|
You will need to add CNAME records provided by Blogger to connect your domain.
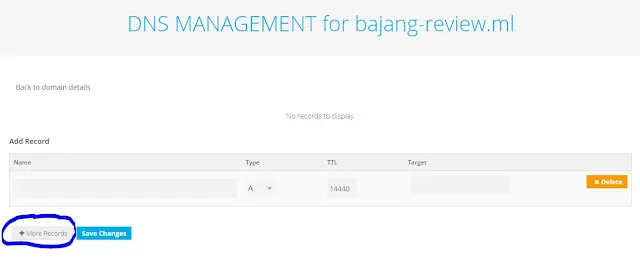 |
|---|
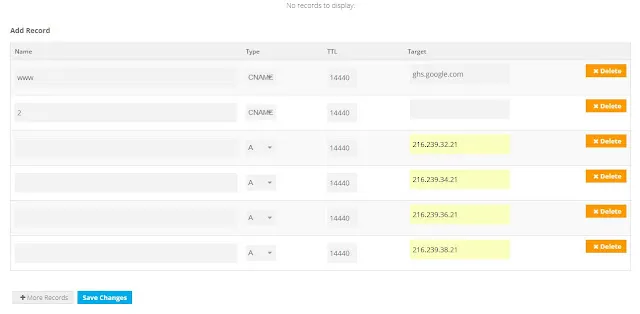 |
Lastly, in your Blogger settings, enter your new domain (with www. at the beginning) and save. Don’t forget to check the option to redirect to the www version.
Congratulations! You now have a custom domain for your blog. If you have any questions or run into issues, feel free to ask in the comments!