Tutorial: Extracting Windows to a Flash Drive Using Rufus 2.0
Hello everyone! Today, I’ll be sharing a guide on how to extract Windows to a flash drive using Rufus 2.0. This is an essential skill for anyone looking to reinstall their laptop or PC operating system. Sharing knowledge is never a loss; in fact, explaining it helps me remember it better too!
Getting Started
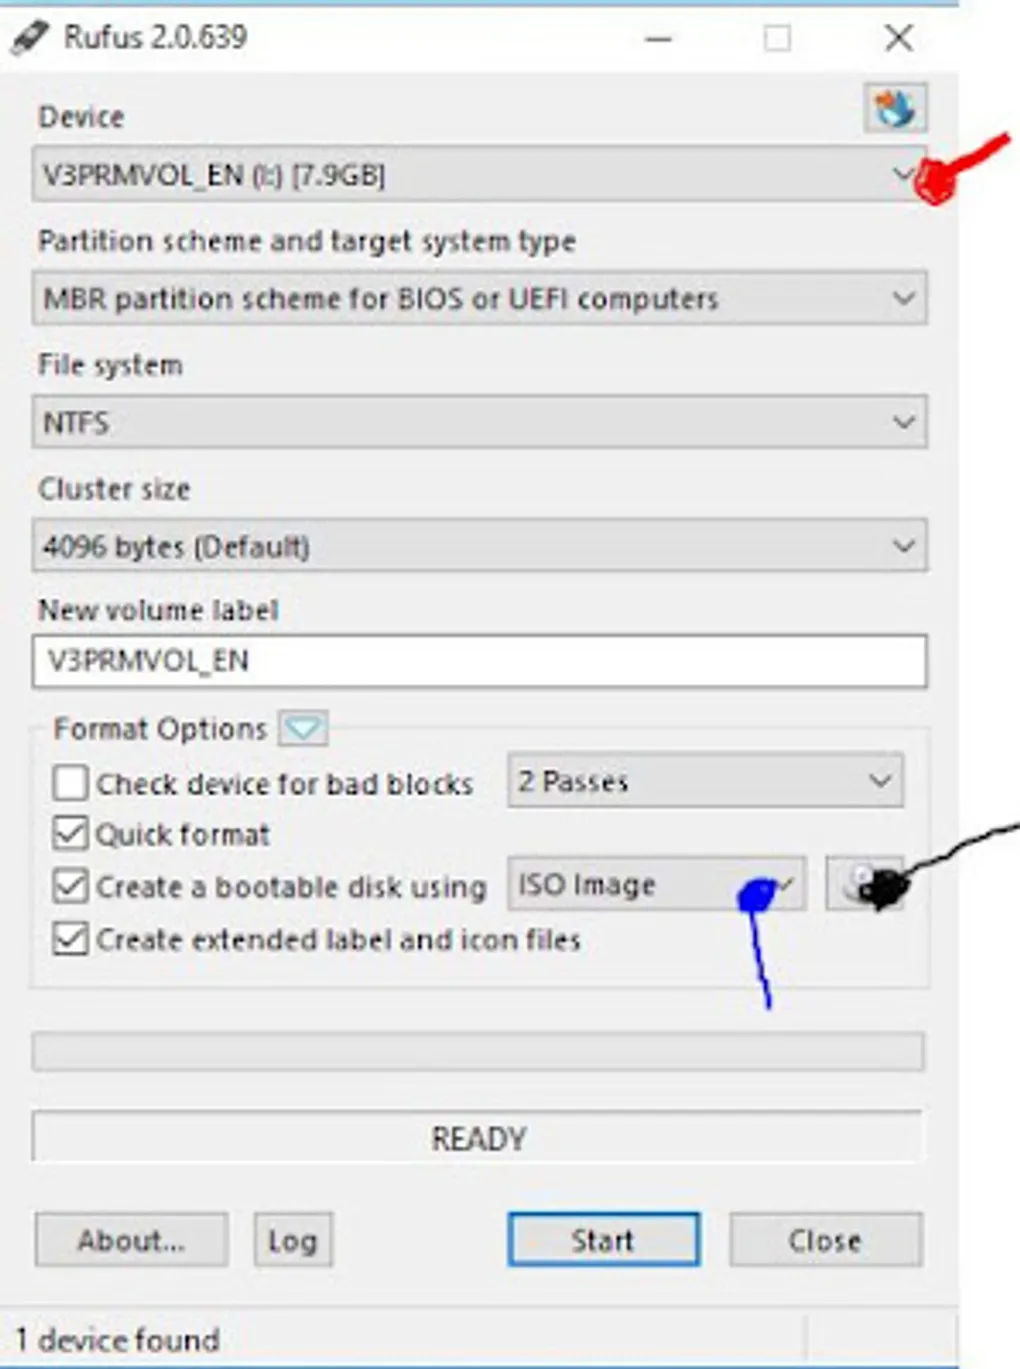
If you don’t have the Rufus utility yet, you’ll need to download it. Once downloaded (often as a .rar file for safety), open it and run the application. The interface will look like the image below.
 |
|---|
| Rufus 2.0 Application Window |
Step-by-Step Guide
1. Select Your Device In the section highlighted in red, select the flash drive you want to use for the Windows installation media.
[!IMPORTANT] Make sure to back up any data on your flash drive before starting, as the process will format and erase everything on it.
2. Select the ISO Image In the section highlighted in blue, click the disk icon to select your Windows ISO file.
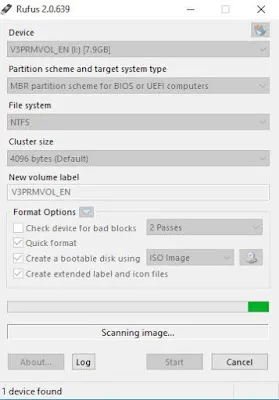
3. Upload and Scan Once selected, the utility will scan the file. Wait for the process to complete.
 |
|---|
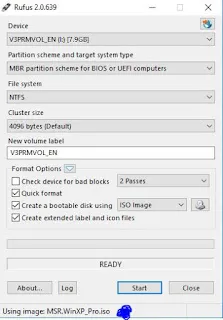
4. Ready Status When the scan is finished, the status will show as READY in the bottom bar.
 |
|---|
5. Start the Process Click Start. This process can take some time, depending on your flash drive speed and the size of the Windows file. Once finished, click Close, and your bootable flash drive is ready for use!
Rufus 2.0 vs. Older Versions (v1.x)
- Rufus 2.0: Offers expanded ISO image selection options and a much smoother, more refined user interface.
- Rufus v1.x: A more basic version with limited features and a coarser design.
That’s all for the Rufus tutorial! If you have any requests for other tutorials, feel free to ask. Good luck with your installation!